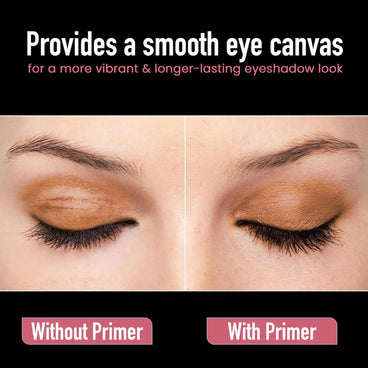
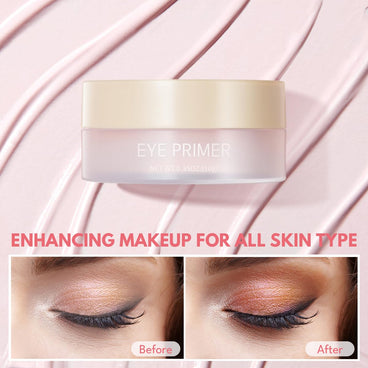
Applying eye primer correctly is the key to making your eyeshadow last longer and look more vibrant. Many people either use too much product or skip blending, which can lead to patchy results. The good news is that applying primer is quick and simple if you follow the right steps.

Step 1: Start with Clean Eyelids
Before applying primer, make sure your eyelids are clean and free of excess oil. Use a gentle cleanser or makeup remover to wipe away any leftover product. This helps the primer stick properly and ensures your makeup won’t slide off during the day.

Step 2: Use a Small Amount of Primer
With eye primer, less is more. Take a pea-sized amount or a tiny dab on your finger or brush. Using too much product can make your eyelids feel heavy and cause your eyeshadow to clump instead of blending smoothly.

Shop lightweight primers here.
Step 3: Apply Evenly Across the Eyelid
Gently dab the primer onto your eyelid with your finger or a flat brush. Start from the lash line and work your way up to the crease. Make sure the product is spread evenly so your eyeshadow has a smooth base to cling to.

Step 4: Blend and Let It Set
Blend the primer into your skin until it looks even and slightly tacky. Wait about 30 seconds before applying eyeshadow to let it set properly. This prevents slipping and ensures maximum color payoff.

Shop long-wear eye primers here.
Step 5: Apply Eyeshadow on Top
Once the primer is set, apply your eyeshadow as usual. You’ll notice the colors look more vibrant and last much longer without creasing. Primer works well with both powder and cream formulas, so it’s a must for any look.

Final Answer: What’s the Right Way to Apply Eye Primer?
The correct way to apply eye primer is to start with clean lids, use a small amount, blend evenly, and let it set before layering eyeshadow. This simple step will make your makeup look professional and stay fresh all day.